To start, go to System -> Configuration -> IWD Extensions -> Order Manager
GENERAL
Version
- Displayscurrentinstalled version of Order Manager
Documentations
- Links to documentation

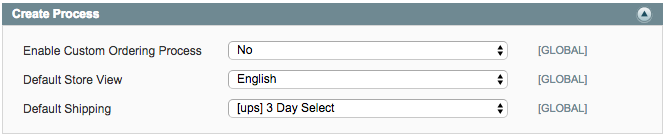
CREATE PROCESS
Enable Custom Ordering Process
- Enable theoptimizedorder creation process to easily create new orders in the Magento admin panel
Default Store View
- Select the store view that is selected by default when creating a new order
Default Shipping
- Select the shipping method that is selected by default when creating a new order
MULTI INVENTORY
Enable
Multi Inventory
- If ‘Yes’ then you will be able to create as many inventory sources as needed and specify multiple inventory levels per product

EDIT ORDER
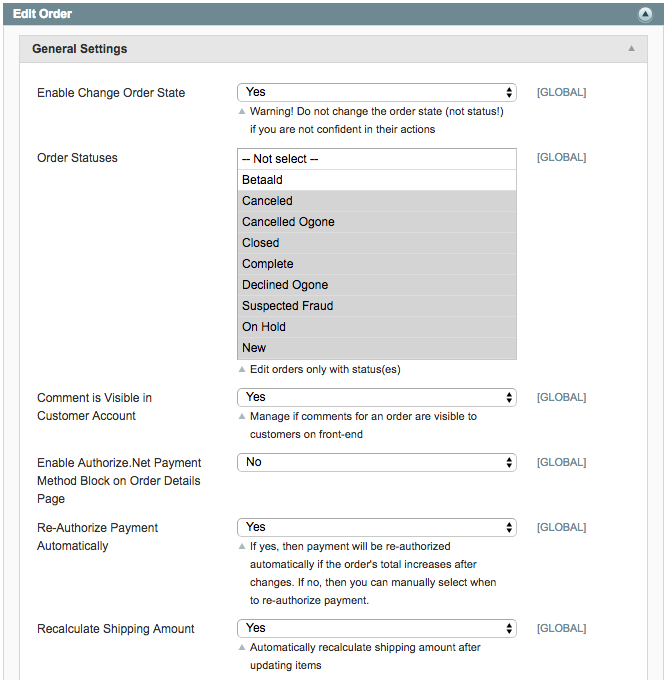
General Settings
- Enable Change Order State - enable ability to change the state of an order
- Order Statuses - specify which order statuses can be edited
- Comment is Visible in Customer Account - manage if comments for an order are visible to customers
- Enable Authorize.Net Payment Method Block on Order Details Page - format information about creditcartin order view page
- Re-Authorize Payment Automatically - if yes, then payment will be re-authorized automatically if the order's total increases after changes. If no, then you can manually select when to re-authorize payment
- Recalculate Shipping Amount - automatically recalculates shipping amount after updating items
Confirmation Settings
- Confirm Edit Order Email - specify type of transactional email
- Confirm Edit Order Email For Guest - specify type of transactional email for guest checkout
- Order Status -WaitConfirmation- change order status when order wait confirm
- Order Status - Confirmed - change order status when order confirmed
- Order Status -Canceled- change order status whenconfirmcanceled

Notification Settings
- Edit Ordered Items Notification Email - select the email template used to notify customers of edits to their order
- Edit Ordered Items Notification For Guest - select the email template used to notify guest (non logged-in) customers of edits to their order

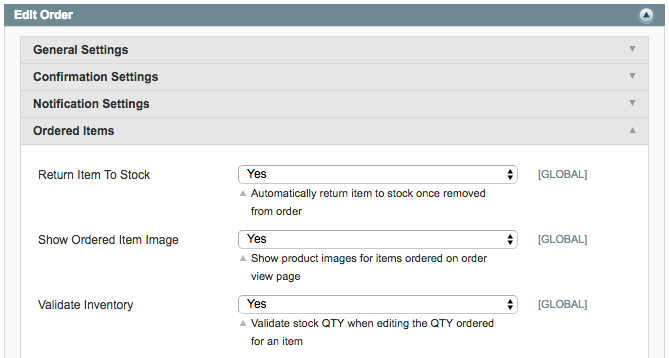
Ordered Items
- Return Item to Stock - automatically return item to stock once removed from order
- Show Ordered Item Image - show product images for items ordered on order view page
- Validate Inventory - validate stock QTY when editing the QTY ordered for an item
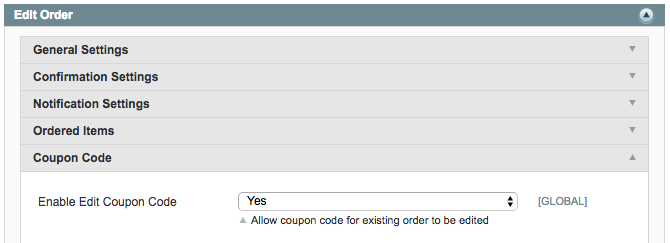
Coupon Code
- Enable Edit Coupon Code - allow coupon code for existing order to be edited
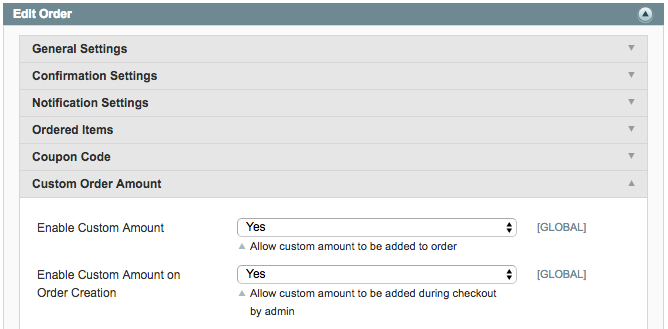
Custom Order Amount
- Enable Custom Amount - allow custom amount to be added to order
- Enable Custom Amount on Order Creation - allow custom amount to be added during checkout by admin
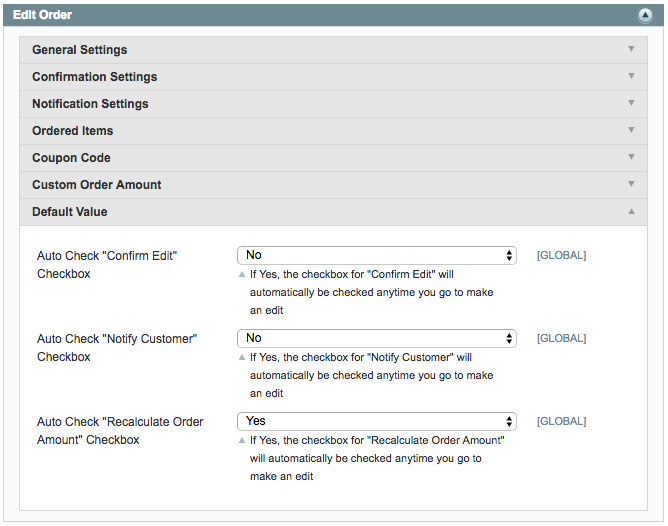
Default Value
- Auto Check "Confirm Edit" Checkbox - if Yes, the checkbox for "Confirm Edit" will automatically be checked anytime you go to make an edit
- Auto Check "Notify Customer" Checkbox - if Yes, the checkbox for "Notify Customer" will automatically be checked anytime you go to make an edit
- Auto Check "Recalculate Order Amount" Checkbox - if Yes, the checkbox for "Recalculate Order Amount" will automatically be checked anytime you go to make an edit
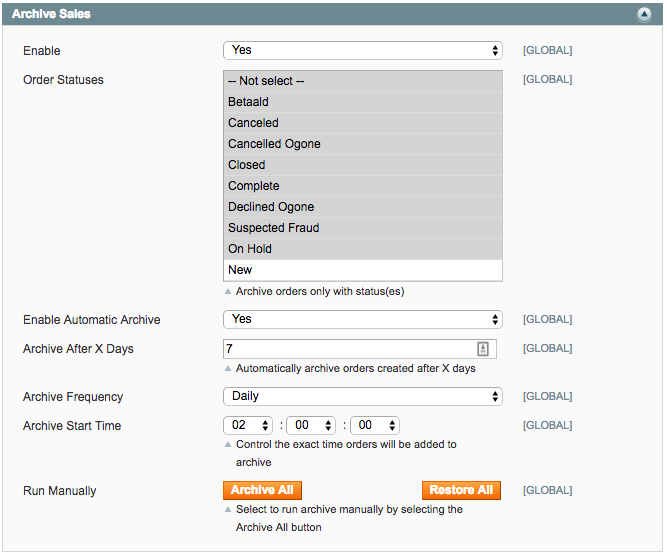
ARCHIVE SALES
Enable
- Set to ‘Yes’ to archive orders and edits made to orders
Order Statuses
- Select which order statuses will be archived
Enable Automatic Archive
- Enable / disable automatic archiving of orders. To use automatic archive a cron is needed.
Archive After X Days
- If needed, specify how many days should pass after the order is placed that the order will be archived
Archive Frequency
- Control how often orders will be added to the archive
Archive Start Time
- Control the exact time orders will be added to archive
Run Manually
- Select to run archive manually by selecting the Archive All button
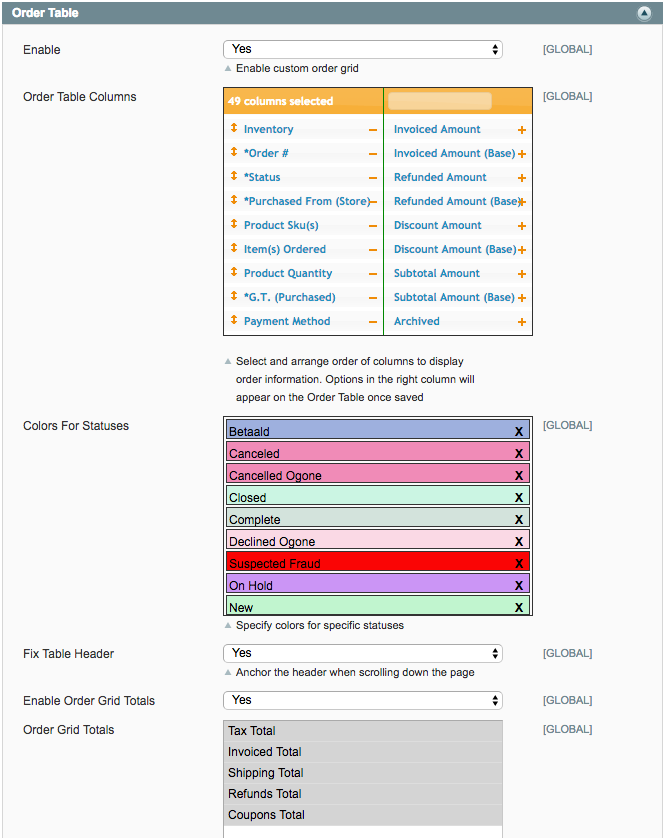
ORDER TABLE
Enable
- Enable / disablecustom order grid
Order Table Columns
- Select and arrange order of columns to display order information. Options in the right column will appear on the Order Grid once saved
Colors
for Statuses
- Specifycolorsfor specific statuses
Fix Table Header
- Anchor the header when scrolling down the page
Enable Order Grid Totals
- Enable / disableshowing sales totals at the bottom of your order table.
Order Grid Totals
- Select which order totals you would like to appear at the bottom of your order table
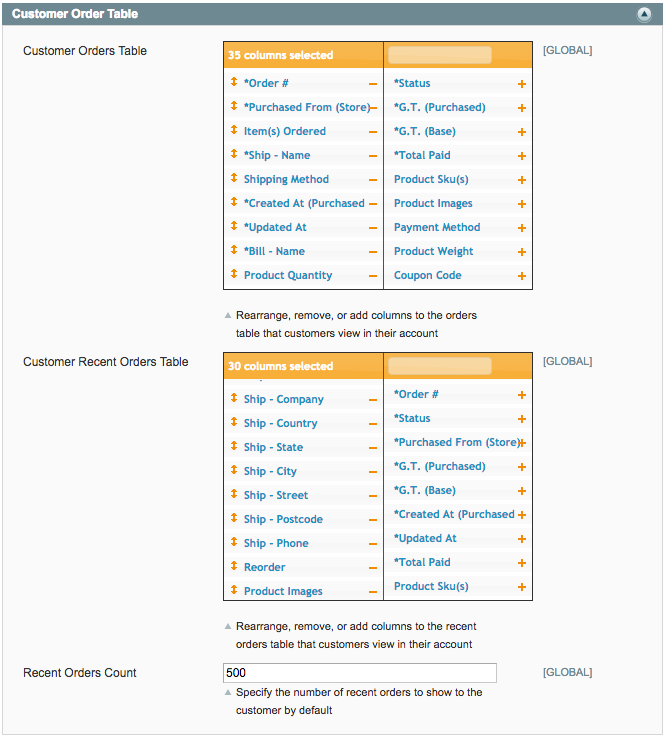
CUSTOMER ORDER TABLE
Customer Orders Table
- Rearrange, remove, or add columns to the orders grid that customers view in their account
Customer Recent Orders Table
- Rearrange, remove, or add columns to the orders grid that customers view in their account
Recent Orders Count
- Specify the number of recent orders to show to the customer by default
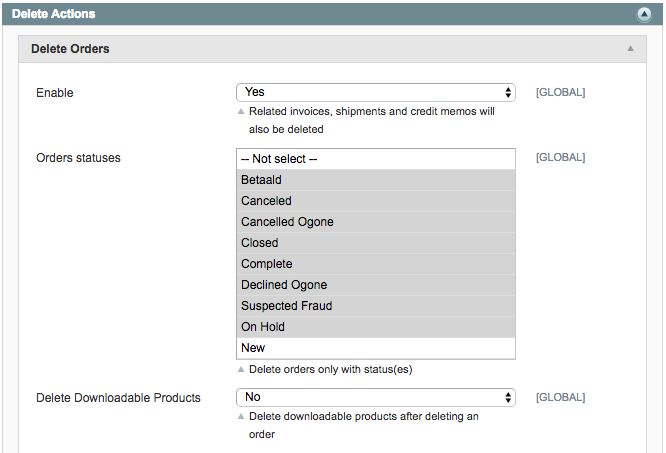
DELETE ACTIONS
DELETE ORDERS
Enable
- Enable ability to delete orders
Orders Statuses
- Specify which order statuses can be deleted
Delete Downloadable Products
- Choose whether or not downloadable products will be removed from customer's account after an order has been deleted
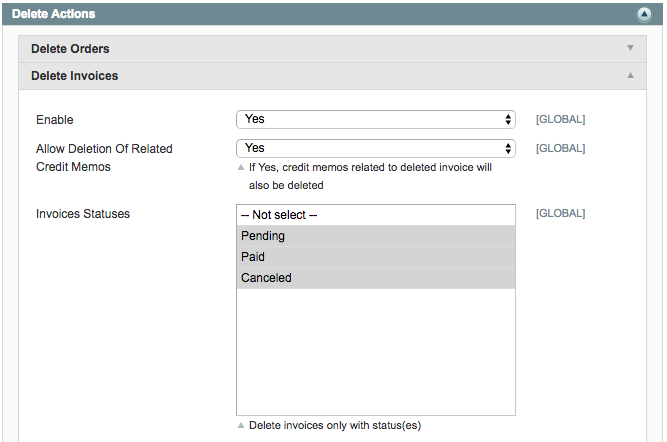
DELETE INVOICES
Enable
- Enable ability to delete invoices
Allow Deletion of Related Credit Memos
- Enable ability to delete related credit memos with invoices
Invoice Statuses
- Specify which invoice statuses can be deleted
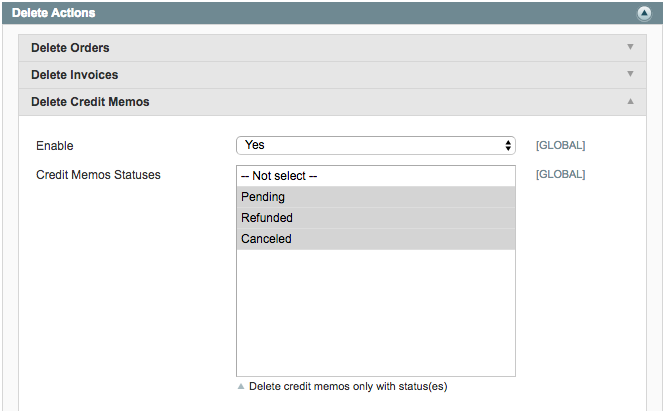
DELETE CREDIT MEMOS
Enable
- Enable ability to delete credit memos
Credit Memo Statuses
- Specify which credit memo statuses can be deleted
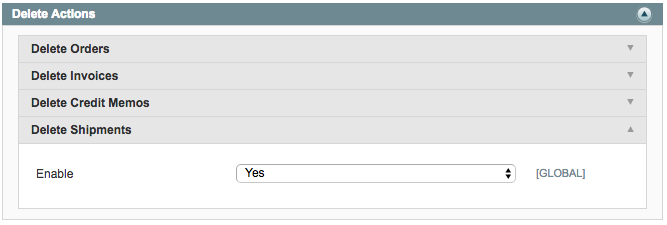
DELETE SHIPMENTS
Enable
- Enable ability to delete shipments with an order
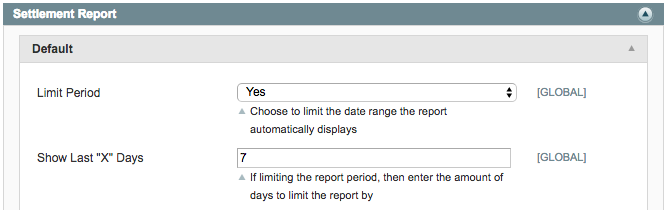
SETTLEMENT REPORT
Default
- Limit Period - choose to limit the date range the report automatically displays
- Show Last "X" Days - if limiting thereportperiod, then enterthe amount ofdays to limit the report by
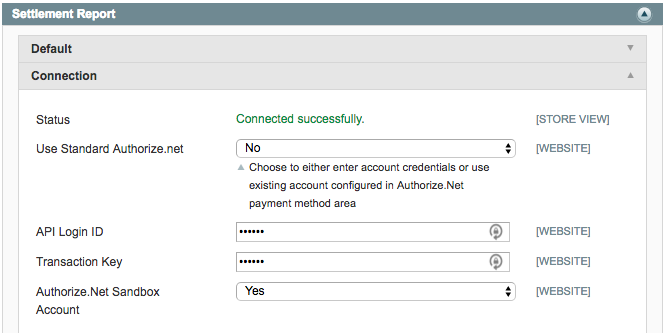
Connection
- Status - view connection status with your Authorize.Net account:
- Connected successfully
- User authentication failed due to invalid authentication values
- Use Standard Authorize.net - choose to either enter account credentials or use existing account configured in Authorize.Net payment method area
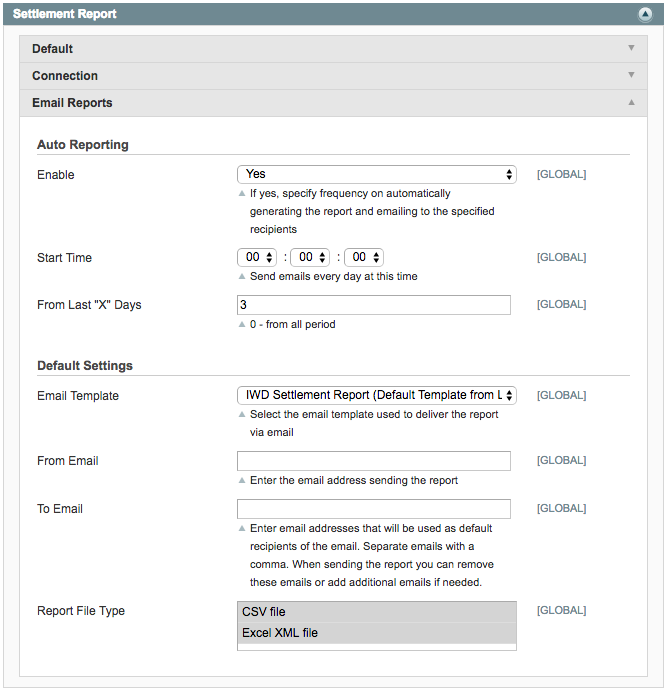
Email Reports
Auto Reporting
- Enable - if yes, specify frequency on automatically generating the report and emailing to the specified recipients
- Start Time - designate what time reporting and emails should start
- From Last "X" Days - Report on the last "X" number of days
Default Settings
- Email Template - select the email template used to deliver the report via email
- From Email - enter the email address sending the report
- To Email - enter email addresses the will be used as default recipients of the email. When sending the report you remove these emails or add additional emails if needed
- Report File Type - select the file type used to export and email the report